DIY Fixes: Tackling the Most Common Small Home Repairs
Owning a home comes with the responsibility of maintenance, but it doesn’t always require hiring a professional. Many small repairs around the house can be tackled with a little time, patience, and a few basic tools. These DIY fixes not only save money but can also give you a sense of accomplishment and confidence in your ability to handle your home’s needs. In this post, we’ll walk through some of the most common small home repairs and how you can do them yourself.
1. Leaky Faucets
A dripping faucet is one of the most annoying problems that homeowners face, and it can also waste a lot of water. Fortunately, fixing a leaky faucet is a relatively simple task. In most cases, the cause is a worn-out washer or O-ring. Here’s how to fix it:
- Turn off the water supply to the sink. You can usually find the shutoff valve under the sink.
- Remove the handle of the faucet using a screwdriver.
- Take apart the faucet to access the valve stem.
- Replace the washer or O-ring. Take the old one to a hardware store to ensure you buy the right size.
- Reassemble the faucet and turn the water back on.
With just a few steps, you’ll have a faucet that works properly again, saving water and preventing that annoying drip.
2. Clogged Drains
Clogged drains are another common household problem, especially in bathrooms and kitchens. Before calling a plumber, try these simple DIY solutions:
- Use a plunger: Often, a good old-fashioned plunger can clear up a clogged drain. Make sure there’s enough water in the sink or tub to cover the plunger, and then push down and pull up repeatedly.
- Try a drain snake: A drain snake (or auger) is a flexible tool that can help dislodge deeper clogs. Insert it into the drain and turn the handle to work it through the blockage.
- Baking soda and vinegar: For a natural solution, pour a cup of baking soda into the drain, followed by a cup of vinegar. Let it sit for about 30 minutes, then rinse with hot water. This can help break down grease and soap scum.
If these methods don’t work, a plumber might be needed, but for most minor clogs, you can handle it yourself.
3. Loose Door Handles or Knobs
Over time, door handles and knobs can become loose from frequent use. This is an easy fix that requires only a screwdriver:
- Tighten the screws: If the screws are loose but still intact, simply tighten them using a screwdriver. You may need to remove the knob or handle first to access the screws.
- Replace stripped screws: If the screws are stripped, you may need to replace them with new ones of the same size.
For handles that are completely broken, you can buy a replacement at any hardware store and install it in a few minutes.
4. Scratches on Wooden Floors
Wooden floors are beautiful but can show signs of wear over time. If your floors are scratched or scuffed, try these easy solutions:
- Wood filler: For deep scratches, use a wood filler that matches your floor’s color. Apply the filler with a putty knife, smooth it out, and let it dry. Sand it down lightly for a seamless finish.
- Buffing: For light scratches, try using a buffing pad or a soft cloth with a bit of furniture polish. This can help smooth out minor blemishes.
- Wax: Another option for covering scratches is to apply a wax stick. These come in a variety of wood tones and can fill in small imperfections.
Maintaining your floors with these DIY methods can help keep your home looking polished without needing professional refinishing.
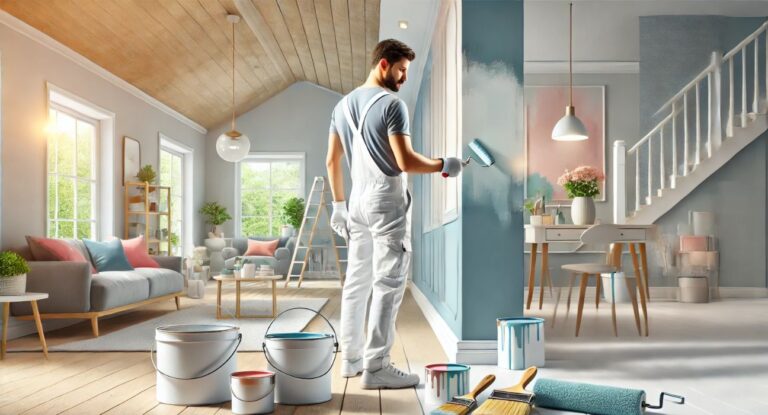
5. Peeling Paint
Peeling or chipped paint on walls or trim can make your home look run-down. Here’s how to tackle this problem:
- Scrape off the peeling paint with a putty knife or paint scraper. Be careful not to damage the underlying surface.
- Sand the area lightly to smooth any rough edges.
- Prime and paint: Apply a coat of primer to seal the surface before repainting. Once dry, apply a fresh coat of paint. Make sure to choose the right type of paint for the area you’re working on, whether it’s indoor, outdoor, or a specific finish.
This is a simple way to refresh the look of your home and prevent further damage from water or humidity.
6. Broken Tiles
A cracked or broken tile can be an eyesore, especially in kitchens and bathrooms. Replacing it is easier than you might think:
- Remove the damaged tile by gently prying it up with a putty knife. Be careful not to damage the surrounding tiles.
- Clean the area to remove any adhesive or debris.
- Apply tile adhesive to the back of the new tile and press it firmly into place.
- Grout the edges: Once the adhesive has set, fill in the edges with grout and smooth it out using a grout float.
- Let it dry for at least 24 hours before using the surface.
This repair can be done in a few hours and restores the look of your floors or backsplash.
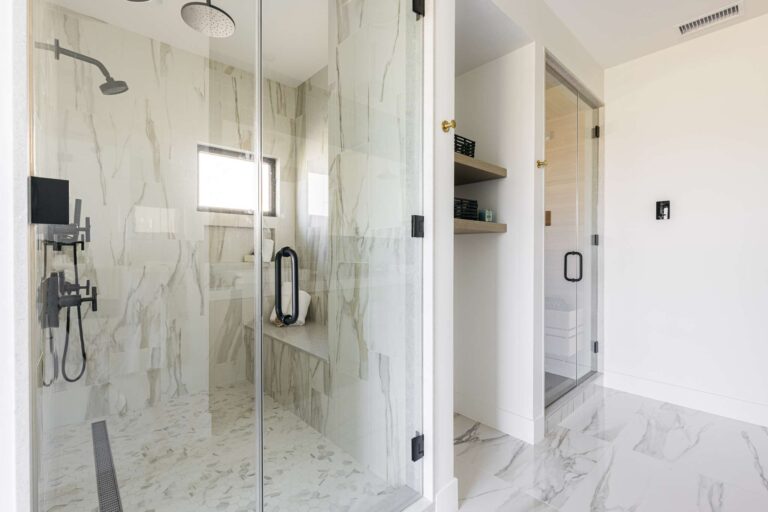
7. Re-Caulk Your Tub and Shower
Over time, the caulk around your bathtub or shower can begin to crack or peel, allowing water to seep through. Re-caulking is an easy repair that prevents mold and water damage:
- Remove the old caulk using a caulk remover tool or utility knife.
- Clean the area thoroughly with rubbing alcohol to remove any residue.
- Apply fresh caulk using a caulk gun. Smooth it out with a wet finger or caulk tool to create a clean line.
- Allow the caulk to cure for 24 hours before using the shower or tub.
Regular re-caulking can extend the life of your bathroom and prevent costly water damage.
Final Thoughts
Many common home repairs are within reach with a little knowledge and the right tools. Taking care of these small repairs on your own not only helps you save money but also provides a sense of accomplishment in maintaining your home. Whether it’s fixing a leaky faucet or re-caulking the tub, these DIY tasks are simple enough for homeowners at any skill level. If you’re unsure or prefer expert help, a skilled handyman in Orem can assist with any project. So, grab your tools, roll up your sleeves, and start tackling those repairs today!